Contact Person: Mr.Li
Mobile: +86-13186019379
Wechat: 18509252400
Email: info@mudsolidscontrol.com
Address: No.2 Hu·ochang Rood, Yangling District, Xianyang City, Shaanxi Province, China
As key component of oil drilling solids control systems, timely shaker screen replacement directly impacts drilling fluid treatment efficiency and drilling safety. Based on drilling site characteristics and solids control shaker product features, the replacement process must balance safety, compliance, and equipment compatibility.

Equipment Shutdown and Power Disconnection:Notify the drilling rig control room and relevant personnel of the operation requirement for "shaker shutdown for screen replacement" and suspend relevant drilling processes;
Turn off the shaker’s main power switch, unplug the power cord or toggle the circuit breaker, and post a "Equipment Under Maintenance – Do Not Operate" warning sign.
Wait for the shaker to come to a complete stop (approximately 30 seconds) to dissipate residual vibration. Only proceed with the operation after confirming that the eccentric blocks and screen box are stationary.
Workers' Protective Equipment(PPE):Hard hat, protective gloves, slip-resistant safety shoes, safety goggles (drilling fluid splash protection), oil-resistant coveralls (oil contamination prevention)
Worksite Cleanup:Clear tools, hoses, or materials around the shaker to ensure a spacious work area free of trip and slip hazards; Place a drip pan under the screen to collect residual drilling fluid (environmental pollution and slip hazard prevention).
Tool and Material Preparation:Wrenches, screwdrivers, pry bars (with rubber sleeves to prevent scratching the screen or frame), rags, cleaner
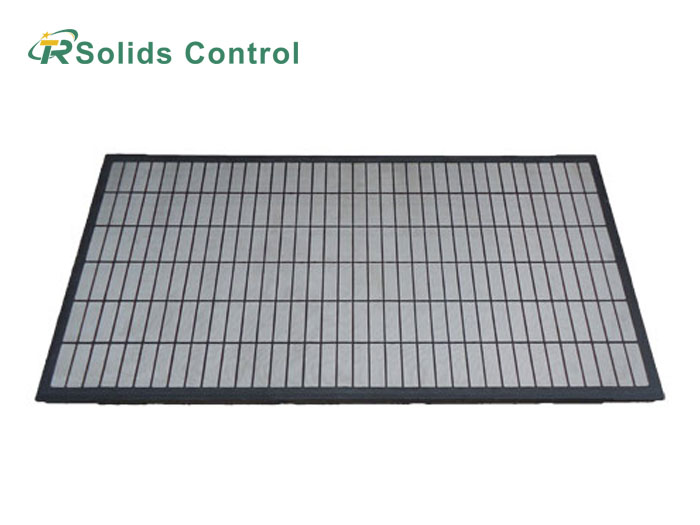
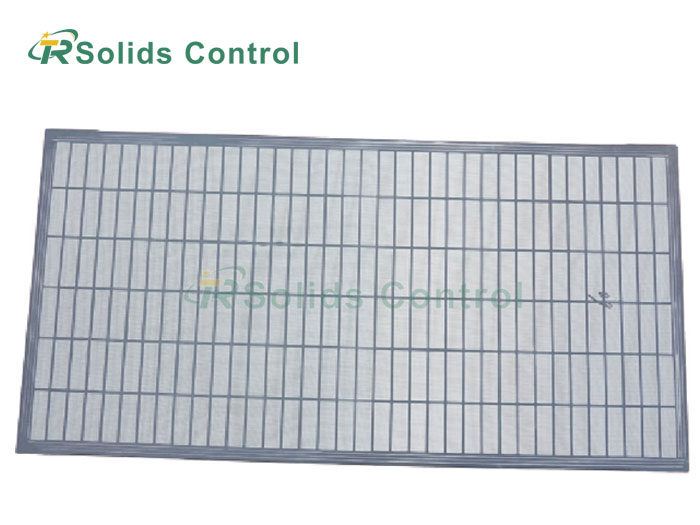
Verify new shaker screen specifications:Ensure the new shaker screen is fully compatible with the shaker model (matching aperture size, mesh size, and material—common types: stainless steel wedge wire screens or polyurethane screens). Check the new screen has no damage, deformation, or uneven apertures, and that the edge gaskets are intact.
Auxiliary Materials Preparation:Spare edge gaskets (leak prevention), anti-rust lubricant (for bolt application), oil absorbent pads (for minor drilling fluid leakage)
Remove Residual Fluid/Cuttings:Use low-pressure water hose or scraper to remove excess drilling fluid and solid cuttings from the screen frame—avoid high-pressure washing to prevent damage to the seals.
Detach the Old Screen: Loosen the screen clamping devices in sequence (e.g., quick-clamp levers, locking bolts, or clips). Some models support one-sided quick removal—loosen the bolts symmetrically to prevent screen frame deformation due to uneven force. Carefully lift the old screen and place it in the designated waste container.
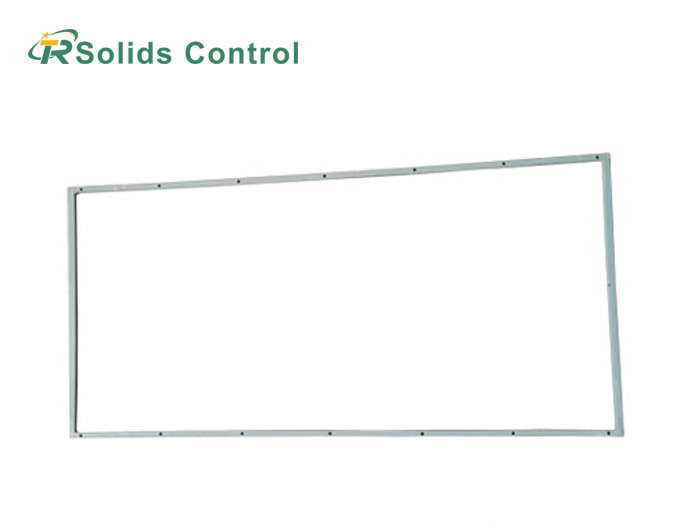
Inspect the Screen Frame:Check for bending, cracks, or damaged seals on the frame. Replace worn washers or rubber strips to ensure a tight seal with the new screen (prevents drilling fluid leakage).
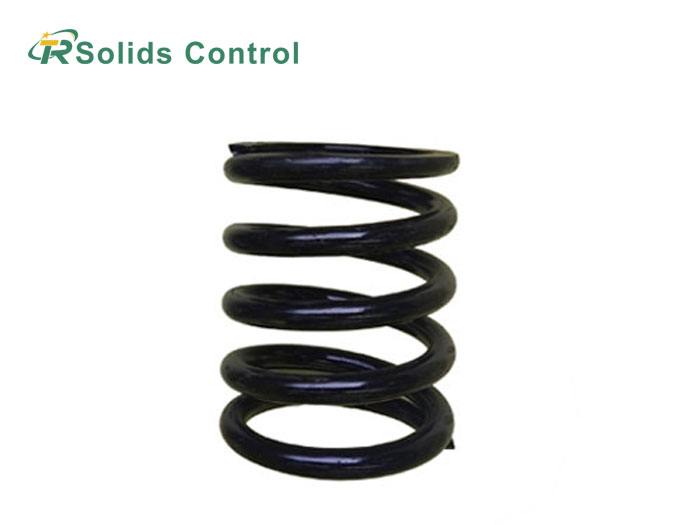
Inspect the springs, bolts, and levers of the screen clamping device. If rust or damage is present, replace the spare parts promptly.
Install the New Shaker Screen:Lift the new shaker screen with both hands and lower it slowly along the screen frame's guide slots. Ensure the screen is centered, with its edges fully fitting into the frame's seal grooves—no misalignment or wrinkles.
Tighten the clamping devices in a symmetrical sequence: First hand-tighten all bolts/levers initially, then fully compress them sequentially to ensure the screen is tightly fitted to the frame with no loose gaps. For Tianrui's customizable shaker screens, verify that the aperture size matches the drilling fluid type (water-based/oil-based/synthetic-based).
Inspect the Sealing Performance:The edge gaskets of the shaker screen must be fully seated in the seal grooves with no protrusions or cracks, to prevent drilling fluid from leaking through gaps.
Inspect Post-Installation:Gently pull the shaker screen to confirm it is securely fastened. Check the seals to ensure proper alignment.
No-Load Test Run:
Remove the warning sign, connect the shaker's power supply, and start the equipment for 3-5 minute no-load test run. Observe the shaker screen for abnormalities such as unusual noise, misalignment, or excessive vibration.
Touch the side of the shaker box to assess the uniformity of vibration and check the hold-down bolts for looseness. If unusual noise occurs, shut down the equipment immediately to inspect the shaker screen's installation position.
Drilling Fluid Loading Test:
Notify the central control room to resume drilling fluid circulation, gradually increase the feed rate, and observe the shaker screen's screening efficiency: whether cuttings are quickly separated from the screen, whether there is no drilling fluid leakage, and whether the solid control efficiency is normal.
Focus on inspecting the shaker screen edges and hold-down strip connections for any leakage. If there is minor leakage, shut down the equipment to fine-tune the hold-down strip bolts; if leakage is severe, re-inspect the shaker screen installation or replace the edge gaskets.
Waste Disposal:Clean the work area of cuttings and residual drilling fluid, recover the old shaker screen and waste materials (dispose in accordance with the drilling site's environmental protection requirements), and return tools to their original positions.
Documentation of Replacement Information:Include the replacement time, drilling depth, new shaker screen model/aperture size, replacement reason (such as screen damage or aperture blockage), and the operator's full name, and file them in the equipment maintenance records.
Never replace the shaker screen during shaker operation or without implementing LOTO (Lockout/Tagout) procedures. Always ensure power is shut down before commencing work.
Never use shaker screens with incompatible specifications. Doing so may result in screen breakage, screen frame deformation, and even shorten the service life of the vibration motor.
Do not allow multiple personnel to work on the shaker box simultaneously during replacement to avoid screen frame overload. Do not strike the shaker screen or screen frame with hard objects such as hammers to prevent damage to the equipment structure.
Emergency Response:If the equipment starts accidentally during replacement (without unlocking the warning sign), immediately press the emergency stop button, evacuate the work area, and inspect the locking device for faults before resuming operations.
Multi-Person Collaboration:Shaker screen replacement is preferably performed with 2 personnel cooperating to avoid screen slipping and causing injury during single-person operation, or lack of emergency assistance in case of equipment failure.
Maintenance Documentation:After completing the replacement, fill out the equipment maintenance record form, specifying the replacement time, screen specifications, operators, and equipment operating status to facilitate subsequent traceability and formulation of maintenance plans.
In drilling operations, shaker screen replacement must be conducted in accordance with regulations, with precise adaptation and standardized operations to reduce associated risks. TR Solids Control drilling shakers, featuring quick-release structure and customized screen design, can shorten the screen replacement time for single unit by 15 minutes, significantly improving maintenance efficiency. Following the above process not only ensures the quality of screen replacement but also avoids safety accidents and equipment damage, guaranteeing the continuous and stable operation of the solids control system and reducing drilling costs.

Address: No.2 Hu·ochang Rood, Yangling District, Xianyang City, Shaanxi Province, China
Tel: +86-13186019379
Wechat: 18509252400
Email: info@mudsolidscontrol.com
Contact: Mr.Li
 +86-13186019379